Quick links:
▶ App versions and changes
▶ Other Dune HD support materials
Dune HD Media Center App provides access to advanced Dune HD Media Center functions on the following compatible media players:
Approach 1. Install DUNE app from Google Play:
- Launch "Google Play", type "dune" in the Search field, choose and install "DUNE" app.
- Note: do not choose the "DUNE-HD.TV" app, it is a different app. Choose "DUNE" app.
- Launch "DUNE" app and follow the on-screen instructions.
- The app will detect that you are using a Dune HD device and guide
you through the setup process, enabling advanced Dune HD Media Center
features supported by your device. This process involves adjusting
certain system settings and installing some components - please
follow the on-screen instructions.
Approach 2. Use Downloader app from Google Play:
- Note: this method is not recommended when using Dune HD Premier 4K Pro model and ATV14 firmware.
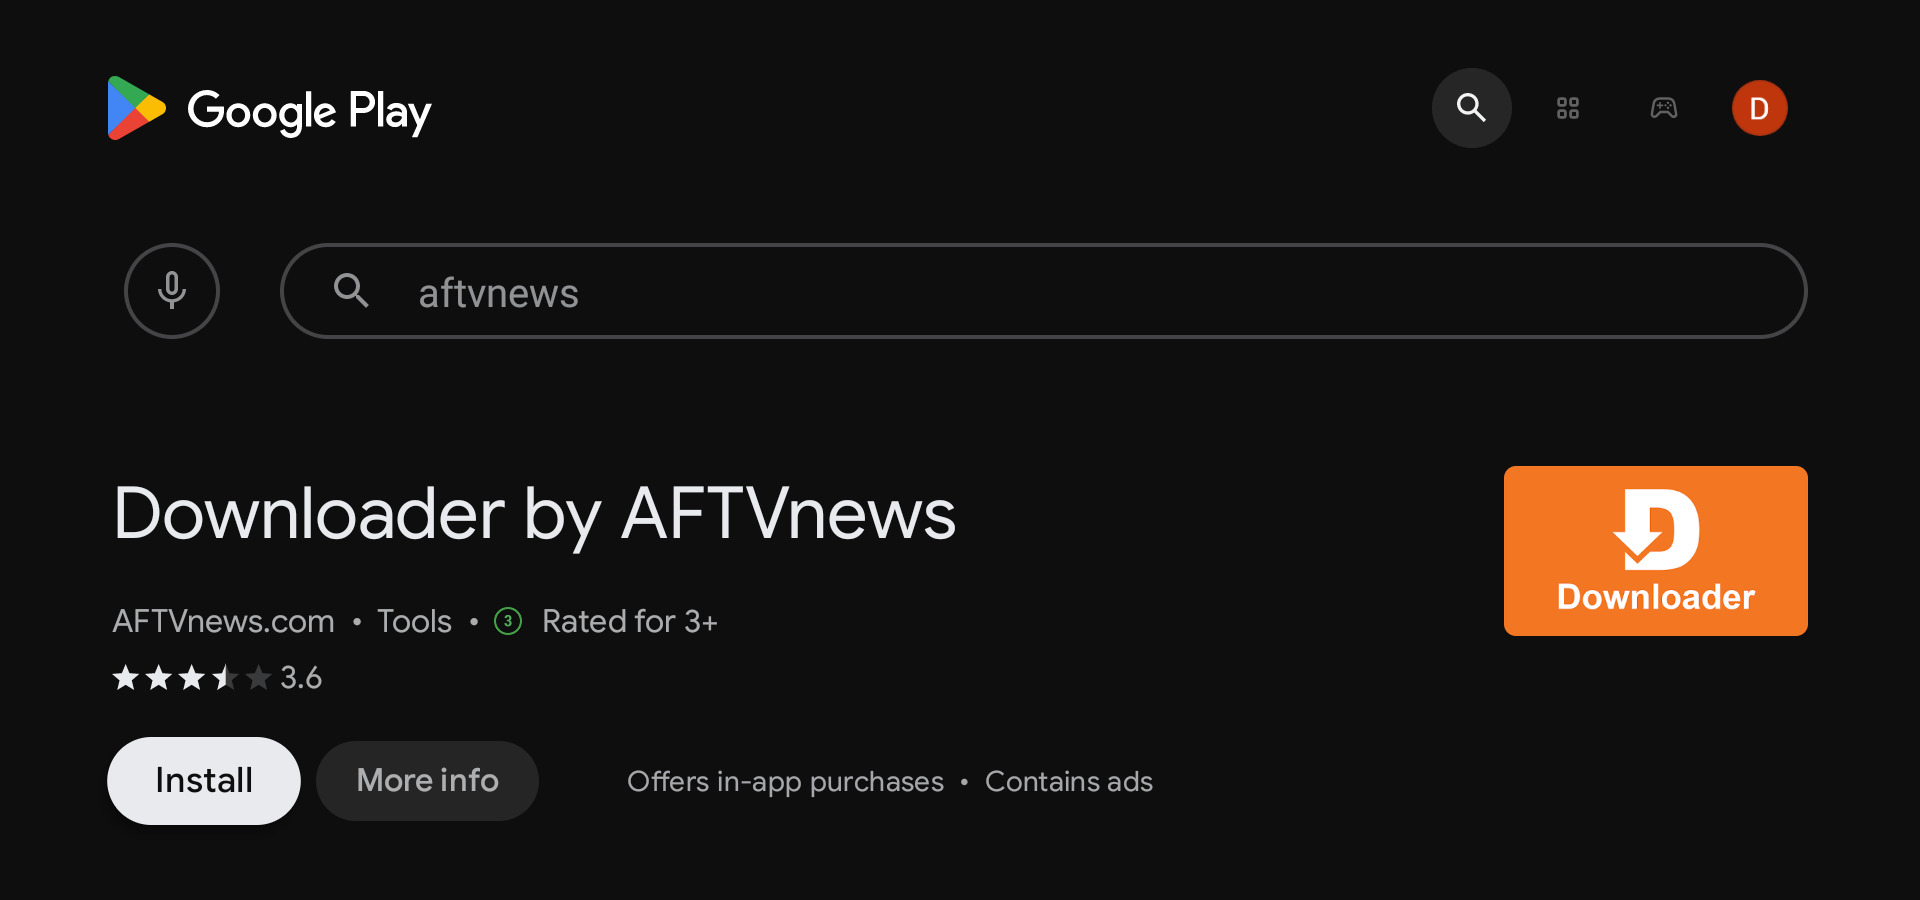
- Launch "Google Play", type "aftvnews" in the Search field, choose and install "Downloader by AFTVNews" app:
- Allow installation of apps from sources other than the Google Play:
- Press "Settings" button on the remote, or choose "Settings" icon on Android TV home screen.
- Choose "Apps" / "Security & Restrictions" / "Unknown sources" / "Downloader" and ensure it is set to "Allowed".
- Launch "Downloader" app, enter the following Short Code, and press "Go" button.
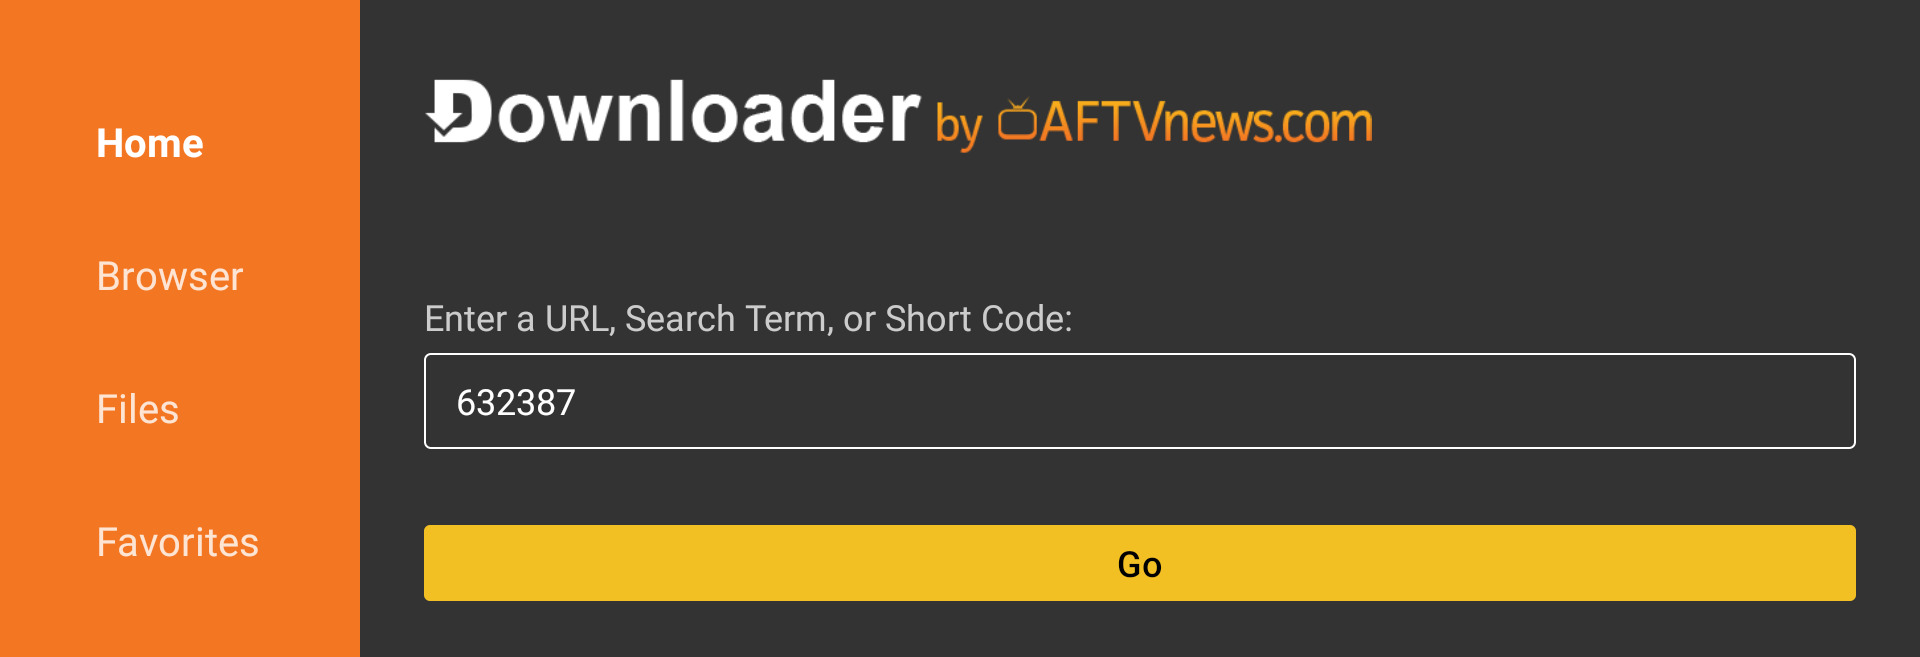
- The Downloader app will download the APK file and suggest to install it. Press "Install" button.
- Note: If "Unsafe app" dialog appears, choose "More details" and "Install anyway".
Approach 3. Download APK file manually and install it via File Manager app:
- Note: this method is not recommended when using Dune HD Premier 4K Pro model and ATV14 firmware.
- Download APK file:
- Copy APK file to a USB drive and attach the USB drive to the media player.
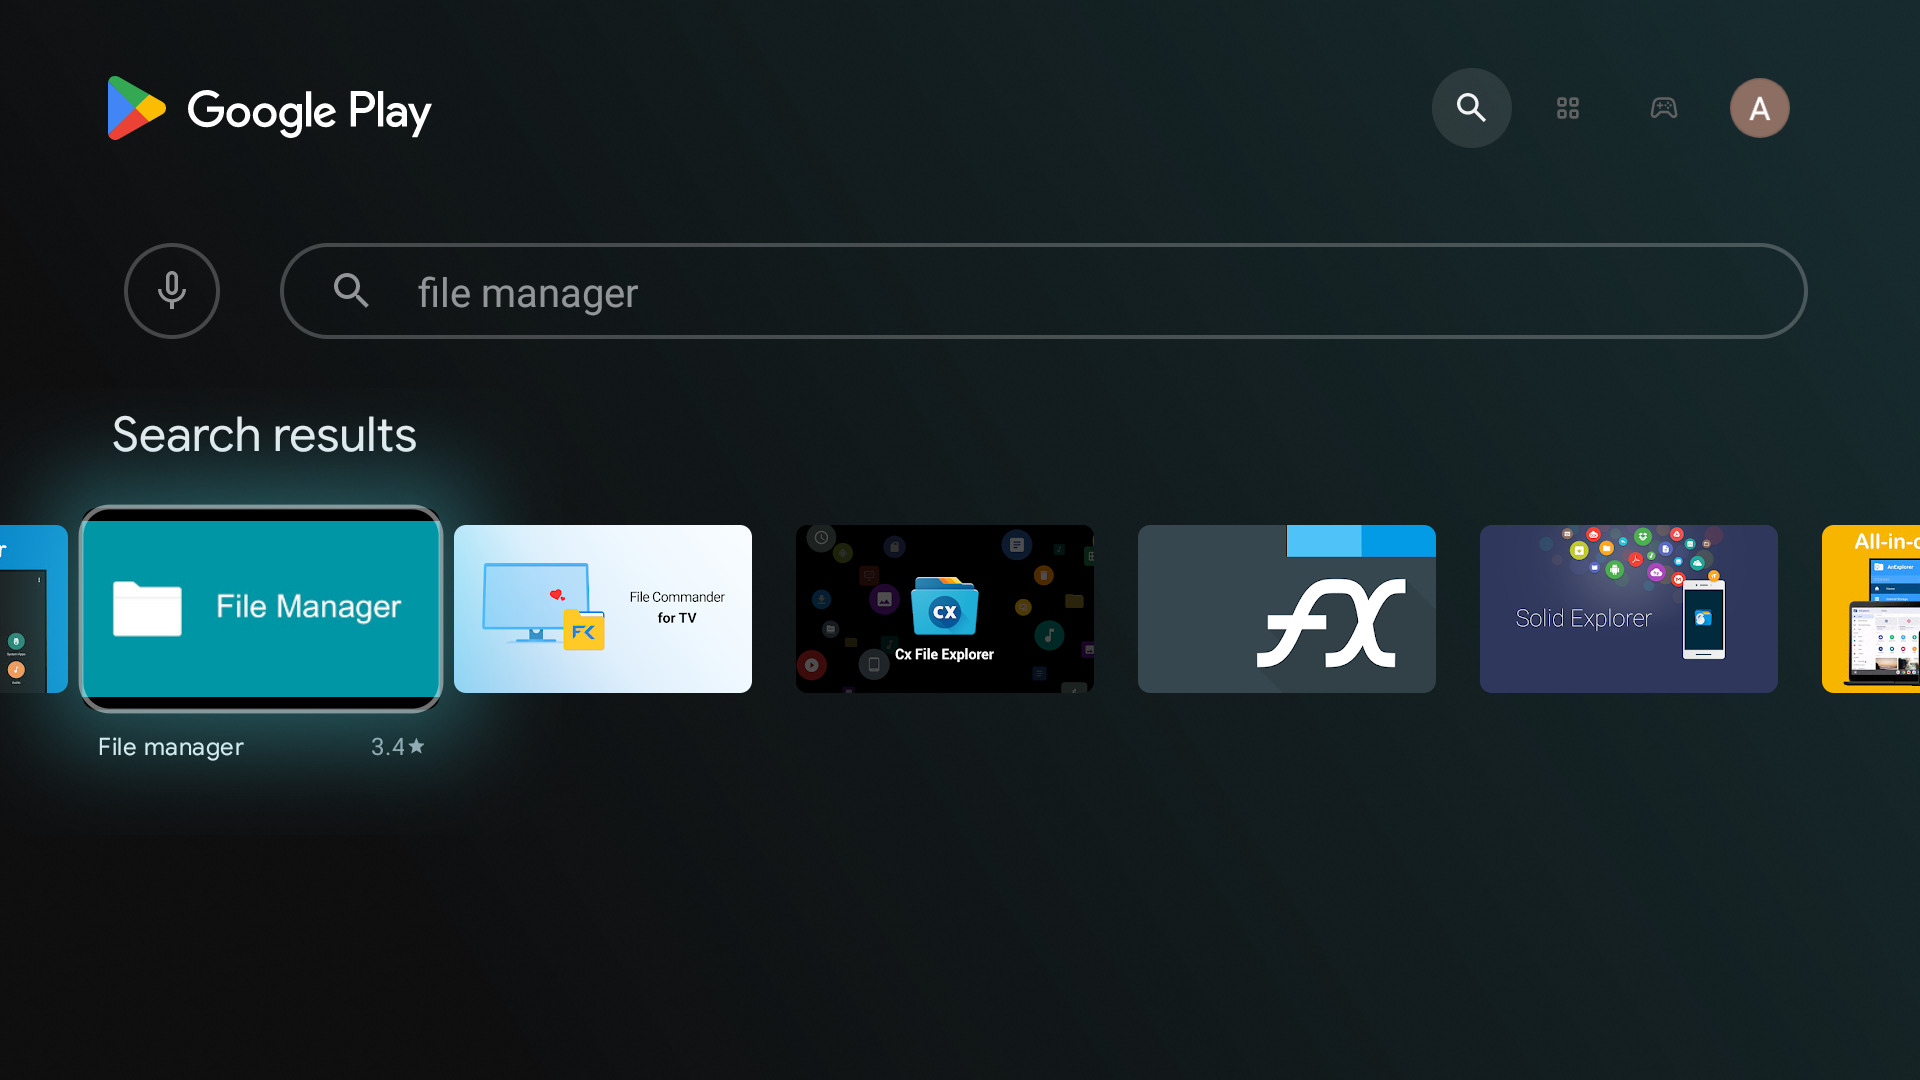
- Launch "Google Play", type "file manager" in the Search field, choose and install "File Manager" app:
- Allow installation of apps from sources other than the Google Play:
- Press "Settings" button on the remote, or choose "Settings" icon on Android TV home screen.
- Choose "Apps" / "Security & Restrictions" / "Unknown sources" / "File Manager" and ensure it is set to "Allowed".
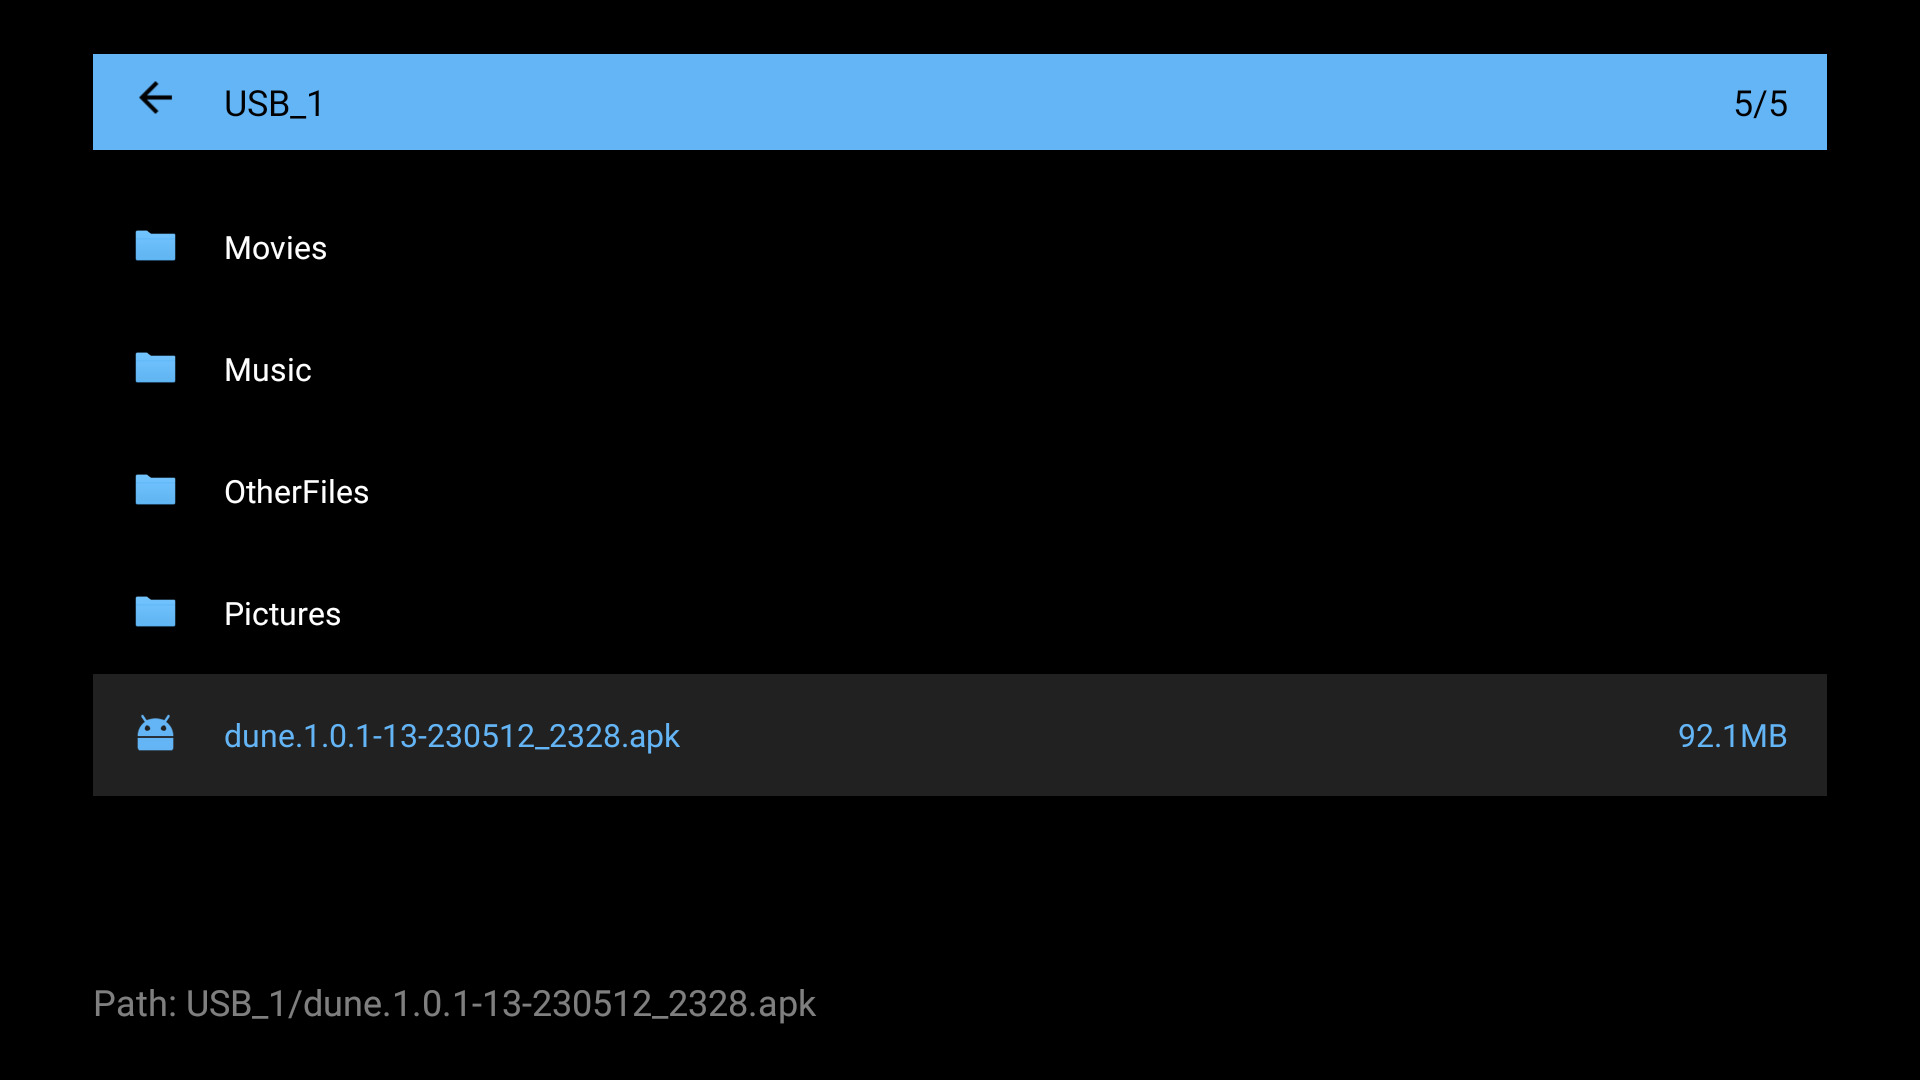
- Launch "File manager" app, allow it to access USB drives, and use it to install the APK from the USB drive:
- Note: If "Unsafe app" dialog appears, choose "More details" and "Install anyway".
Important audio settings:
- SYSTEM: Android System Settings / Device Preferences / Display and Sound / Select formats (Auto / Passthrough / None)
- DUNE: DUNE app / Setup / Audio / Digital audio output mode (Decode / Bitstream)
Recommended settings for Dune HD Media Center:
- For PCM output from Dune HD Media Center: SYSTEM = Passthrough, DUNE = Decode.
- For bitstream output from Dune HD Media Center: SYSTEM = Passthrough, DUNE = Bitstream.
Depending on these settings, Dune HD Media Center can play the following Dolby / DTS / PCM formats:
- All models except BOXY:
- The following formats can be output as multichannel PCM up to 7.1 channels:
- DD, DD+, DD+ with Atmos, TrueHD, TrueHD with Atmos, DTS, DTS HD HRA, DTS HD MA, DTS X, DTS CD.
- The following formats can be output as bitstream:
- DD, DD+, DD+ with Atmos, TrueHD, TrueHD with Atmos, DTS, DTS CD.
- DTS HD HRA, DTS HD MA, DTS X can be output as DTS core bitstream.
- Note: When using ATV12+ firmware:
bitstream output of DTS HD HDR, DTS HD MA, DTS X is supported too. Besides, bitstream output of all audio formats is supported not only with "SYSTEM = Passthrough" setting, but also with "SYSTEM = Auto" setting.
- BOXY with Dune HD Media Center:
- The following formats can be output as stereo PCM (downmix):
- DD, DD+, DD+ with Atmos, TrueHD, TrueHD with Atmos, DTS, DTS HD HRA, DTS HD MA, DTS X, DTS CD.
- The following formats can be output as bitstream:
- DD, DD+, DD+ with Atmos, DTS.
- DTS HD HRA, DTS HD MA, DTS X can be output as DTS core bitstream.
- TrueHD and TrueHD with Atmos can be output as DD core bitstream when playing BD ISO, BDMV folders or M2TS files.
If you want to use S/PDIF output, note the following limitation:
- S/PDIF can output Dolby / DTS bitstream only if the media player is
connected via HDMI to a TV which supports Dolby / DTS formats (i.e. the HDMI
EDID information sent by TV to the media player indicates Dolby / DTS
support).
- Otherwise, S/PDIF will output only stereo PCM. This is the limitation
of the used Google-certified Android TV platform.
If you use Netflix and want to output Atmos in Netflix:
-
Atmos output from Netflix app works only with the setting SYSTEM = Auto
(limitation of Netflix app). With this setting, Dune HD Media Center can
output the following (depending on Decode/Bitstream DUNE setting and
depending on capabilities of the receiver):
- PCM up to 5.1 channels, Dolby MAT (PCM with Atmos), DD+, DD+ with Atmos, DTS.
- Note: When using ATV12+ firmware:
there is no this limitation; Atmos output from Netflix works and bitstream output of all audio formats in Dune HD Media Center works with both "SYSTEM = Auto" and "System = Passthrough" settings.
For automatic framerate and resolution switching according to played content, use the following settings (they affect only playback of video in Dune HD media center):
- DUNE app / Setup / Video / Auto framerate (default ON)
- DUNE app / Setup / Video / Auto resolution (default OFF)
If you want faster playback start and stop (no video mode switching), set both settings to OFF.
Automatic Dolby Vision / HDR format switching according to played content:
- All models except BOXY:
- By default, the box converts everything to Dolby Vision / HDR.
- If you want Dolby Vision / HDR output only when playing Dolby Vision / HDR content, set the following:
- Android System Settings / Device Preferences / Display and Sound / HDR / HDR Auto = ON
- Limitation: For Dolby Vision TVs, "HDR Auto" is fully supported
only in LLDV mode, and works only partially in STD DV mode:
- If your TV supports both LLDV and STD DV, choose LLDV in TV settings.
- Ensure the following is set (it is set by default):
- Android System Settings / Device Preferences / Display and Sound / HDR / Dolby vision source-led = ON
- Otherwise, if LLDV mode is not supported or can not be
chosen, and STD DV mode is used, automatic switching to HDR
will not work and HDR content will be output as SDR. I.e. only
switching between SDR and Dolby Vision will work. (This is the
limitation of Amlogic S905X4 SDK.)
- Note: When using ATV12+ firmware:
there is no this limitation.
- BOXY with Dune HD Media Center:
- By default, the box converts everything to Dolby Vision / HDR.
- If you want Dolby Vision / HDR output only when playing Dolby Vision / HDR content, set the following:
- Android System Settings / Device Preferences / Display and Sound / Screen resolution / HDR Policy = Adaptive HDR
- Limitation: For Dolby Vision TVs, "HDR Auto" is fully supported
only in LLDV mode, and works only partially in STD DV mode:
- If your TV supports both LLDV and STD DV, choose LLDV in TV settings.
- Otherwise, if LLDV mode is not supported or can not be
chosen, and STD DV mode is used, automatic switching to HDR
will not work and HDR content will be output as SDR. I.e. only
switching between SDR and Dolby Vision will work. (This is the
limitation of Amlogic S905X4 SDK.)
Google-certified remotes may have a limited
number of buttons and lack some buttons previously present on standard Dune
remotes. However, you can still use all functions of Dune HD Media Center
using only UP, DOWN, LEFT, RIGHT, CENTER (also know as OK or ENTER), and
BACK (also know as RETURN)
buttons.

Main functions of buttons of the remote when using Dune HD Media Center:
- UP, DOWN, LEFT, RIGHT buttons:
- In menus: navigate through menus and menu items.
- When playing a media file (this behavior can also be customized in Setup menu):
- UP/DOWN: show playback control menu.
- LEFT/RIGHT: show playback timeline.
- When playing a TV channel (this behaviour can also be customized in Setup menu):
- UP/DOWN: switch to next/previous TV channel.
- LEFT/RIGHT: pause/resume playback (when supported), and
also show playback time.
- CENTER (also know as OK or ENTER) button:
- In menus: choose/use/play the selected object.
- When playing a media file: pause/resume playbak, and also show playback control menu.
- When playing a TV channel: show TV menu.
- BACK (also known as RETURN) button:
- In menus: go back to the previous menu level.
- During playback: stop playback.
- Long-press CENTER (also known as OK or ENTER) button:
- Does the same as "POP UP MENU" button on standard Dune remote.
- Usually shows a POP UP MENU providing access to additional
information and actions for the currently selected object, for the
current screen, or for the currently played media.
- Long-press BACK (also known as RETURN) button:
- Does the same as "TOP MENU" button on standard Dune remote.
- When a video or audio is not playing: quickly jump to the top level of the maun Dune menu.
- When a video or audio is playing: show/hide the main Dune menu over the playback.
- BOOKMARK button:
- Does the same as "INFO" button on standard Dune remote.
- Usually shows some information about currently selected object, the
current screen, or the currently played media.
- The same function is often available via POP UP MENU.
Google-certified Bluetooth remotes and Google-certified Dune HD media
players with built-in IR receiver use Google IR codes (Dune HD IR codes are
not supported).
You can use Dune Control mobile app on iOS and
Android phones and tablets to conveniently control Dune HD media center.
- When using the current Dune Control version from Apple / Google app
stores, it will not find Google-certified Android TV Dune HD media player
models automatically (because a new non-privileged port is used for
network access). So you need to manually enter the IP address of the media
player add the correct port number (11080), for example:
192.168.1.50:11080.
- For Android phones and tablets, you can use a new alpha version of Dune Control mobile app.
It can find Google-certified Android TV Dune HD media player models
automatically.
Additionally, you can use the following mobile apps on your iOS/Android
phones and tablets:
- Google TV:
- Can be used as a remote to control the media player.
- Supports controlling all Android apps, not only Dune HD media center.
- Instructions.
- Google Home:
- Can be used to cast content from your mobile device to the media player (using Chromecast built-in technology).
- Instructions.
Dune HD Media Center includes a built-in SMB client, which allows you to
access files on SMB file servers (such as NAS, PC or any other device with
SMB server function). You can launch files or copy files from the SMB file
server. Access is read-only.
To connect to a SMB server, there are two options:
- Option 1: Browse the list of available SMB server and shares.
- Use "Sources / Network Browser" menu, choose SMB server, choose SMB
share.
- SMB shares can be opened and used directly.
- Also, an SMB share can be added to "Sources" menu as a "network
folder": choose the SMB share, press POP UP MENU, choose "Add as
network folder".
- Option 2: Manually create a network folder in "Sources" menu.
- In "Sources" menu, press POP UP MENU, choose "Create network folder".
- Choose "SMB" and enter the name or IP address of the SMB server,
the SMB share name, and optionally user name and password (if the SMB
server requires user name and password).
SMB client supports SMB 1.x/2.x/3.x protocol versions. For best performance,
it is recommended to use SMB 2.x/3.x. SMB client chooses SMB 2.x/3.x
automatically when supported by the server.
If connection to SMB server does not work, try to enable SMB 1.x and NTLM
v1 support in SMB server settings. (And keep SMB 2.x/3.x enabled too.)
Dune HD Media Center includes a built-in NFS client, which allows you to
access files on NFS file servers (such as NAS, PC or any other device with
NFS server function). You can launch files or copy files from the NFS file
server. Access is read-only.
To connect to a NFS server, there are two options:
- Option 1: Browse the list of available NFS server and shares.
- Use "Sources / Network Browser / NFS servers" menu, choose NFS server, choose NFS share.
- NFS shares can be opened and used directly.
- Also, an NFS share can be added to "Sources" menu as a "network
folder": choose the NFS share, press POP UP MENU, choose "Add as
network folder".
- Option 2: Manually create a network folder in "Sources" menu.
- In "Sources" menu, press POP UP MENU, choose "Create network folder".
- Choose "NFS" and enter the name or IP address of the NFS server and
the NFS share path.
NFS client uses non-privileged port number, so you need to ensure your NFS
server allows connections from non-privileged ports.
See here for more details.
Dune HD Media Center includes a built-in SMB file server which provides
access to connected storage devices (such as USB HDDs) and internal memory
from local network.
SMB server supports SMB 2.x/3.x protocol versions and uses non-privileged
port number (10445). This port number is not standard, so you need to
connect to it in a special way: connect manually using IP address and port
number. On Windows, port forwarding should be used.
See here for more details.
SMB server settings (such as SMB server name and password protection) can
be configured in "Setup / Applications / SMB server" menu.
The following functions are currently in development and are expected later:
- Write support in SMB/NFS clients (currently, access to SMB/NFS shares
is read-oly).
Besides, other improvements and additional features are in development and will be included into future versions.
Approach 1:
Use this setting in Dune HD Media Center:
"Setup / Misc / Start & Exit / Auto start Dune HD Media Center".
This will automatically launch Dune HD Media Center shortly after boot.
Please note that auto start may take a few seconds, depending on the number
of installed apps. During this time, the default Android TV launcher may be
shown briefly.
Approach 2:
Alternatively, you can disable the default Android TV launcher ("Android TV Home" app). In
this case, Dune HD Media Center will become the launcher, and the media
player will boot directly into Dune HD Media Center. This can be done
using "ADB" software.
Instructions how to disable the default Android TV launcher:
- Enable ADB access: Go to "Android System Settings / Device
Preferences / About", choose "Android TV OS Version" and press the center
button on the remote 5 times. You will see a message "You are now a
developer".
- Install ADB software on a PC or directly on the media player:
- To use ADB directly on a media player, install "ADB TV" app from Google Play, launch it, and choose "Console".
- To use ADB on a PC, install and use ADB using
these instructions.
- Perform the following command in ADB:
pm disable-user com.google.android.tvlauncher
If you want later to restore the default Android TV launcher, perform the
following command in ADB:
- pm enable com.google.android.tvlauncher
Some functions require Internet connection to verify Dune HD license:
- Internet connection is required once at first start of Dune HD Media Center.
- Internet connection is required to play video files in the most advanced Dolby Vision format (DV Profile 7). W/o Internet, such files still can be played, but in HDR format (like in most media players of other brands).
- Internet connection is required to play BD images with Full Menu. W/o Internet, such files still can be played, but with Lite Menu (like in most media players of other brands).
- In the future, the set of functions which require Internet connection may change.
See here the information about app versions and changes: